This 6×8 painting is from a tutorial by Paint Coach on Patreon. The idea is that you use a decently large brush (say, 1/2″) so that you are focused on the basic shapes as opposed to detail.
The 6×8 canvas size felt too small to me for all the different landscape “objects” — trees near and far, a stream, a path, mountains, etc. Whew!
Worse, my photo doesn’t adequately capture the colors I see in my own painting; the path is both grayer and more purple than what is shown, even though I fiddled with tint/saturation/brightness, etc. in the Photos app.
This 6″ x 8″ landscape — from PaintCoach Patreon — was a challenge, as far as getting the right colors. I got exasperated, and left the barn unpainted for several weeks, before finally just finishing it in a “I’m winging it” effort. (I figure, because it’s acrylic, that I can go back later and repaint the side of barn so that it’s not so gray as it appears.) But for now I am moving on.
I never did finish the foreground area; it should not be just a solid yellowish green. But, again, maybe later!
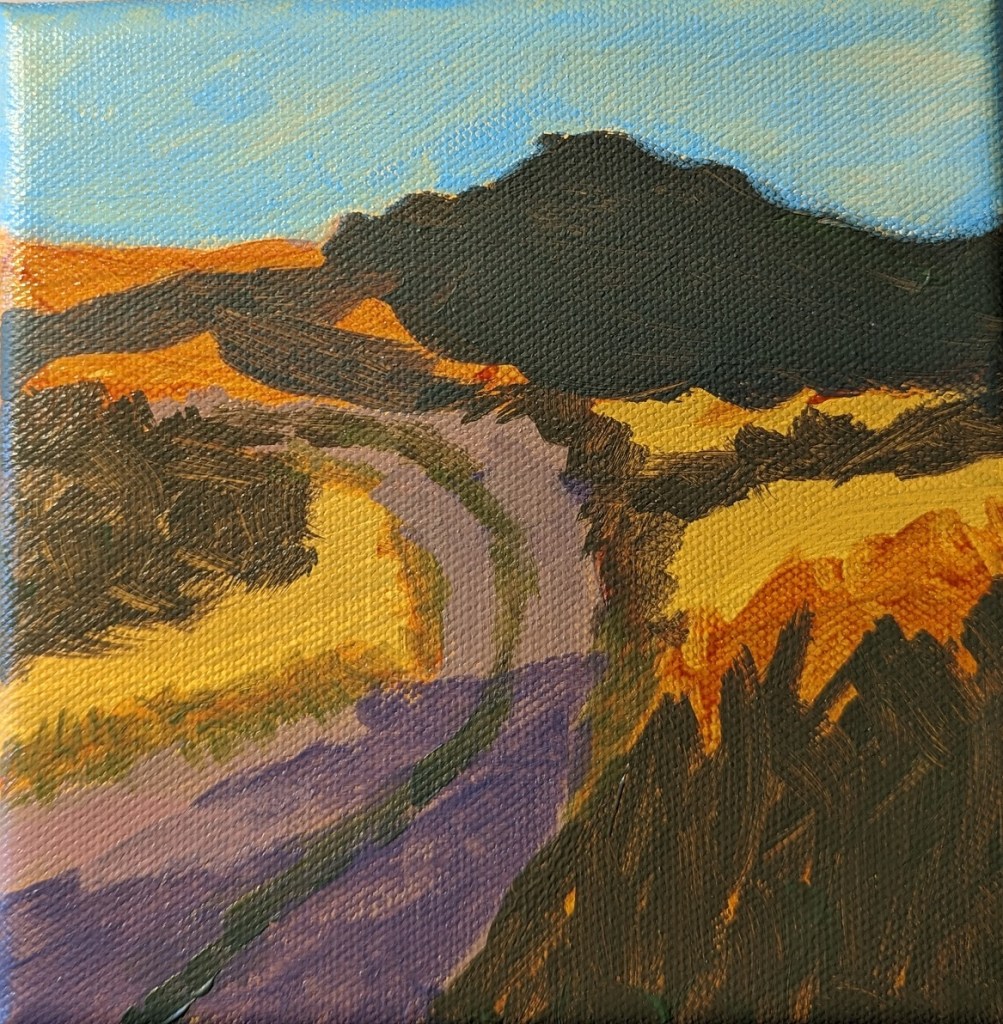
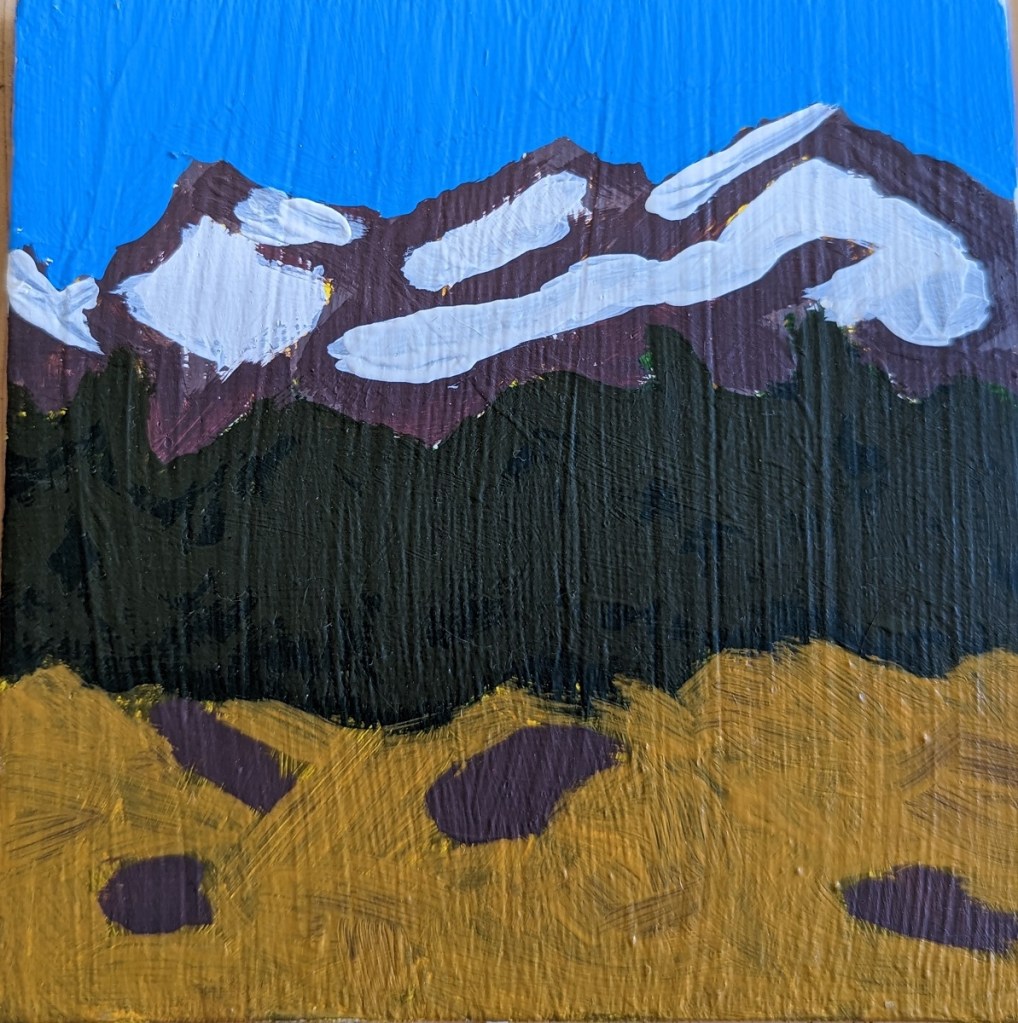
My original 5×5 painting of a mountain landscape, based on Mark Nelson’s “Learn to Paint in Acrylics with 50 Small Paintings: Pick up the skills * Put on the paint * Hang up your art” did not adequately reflect, in my opinion, atmospheric perspective. The mountain was unrealistically brown, the snow was unrealistically white, and the sky unrealistically blue!
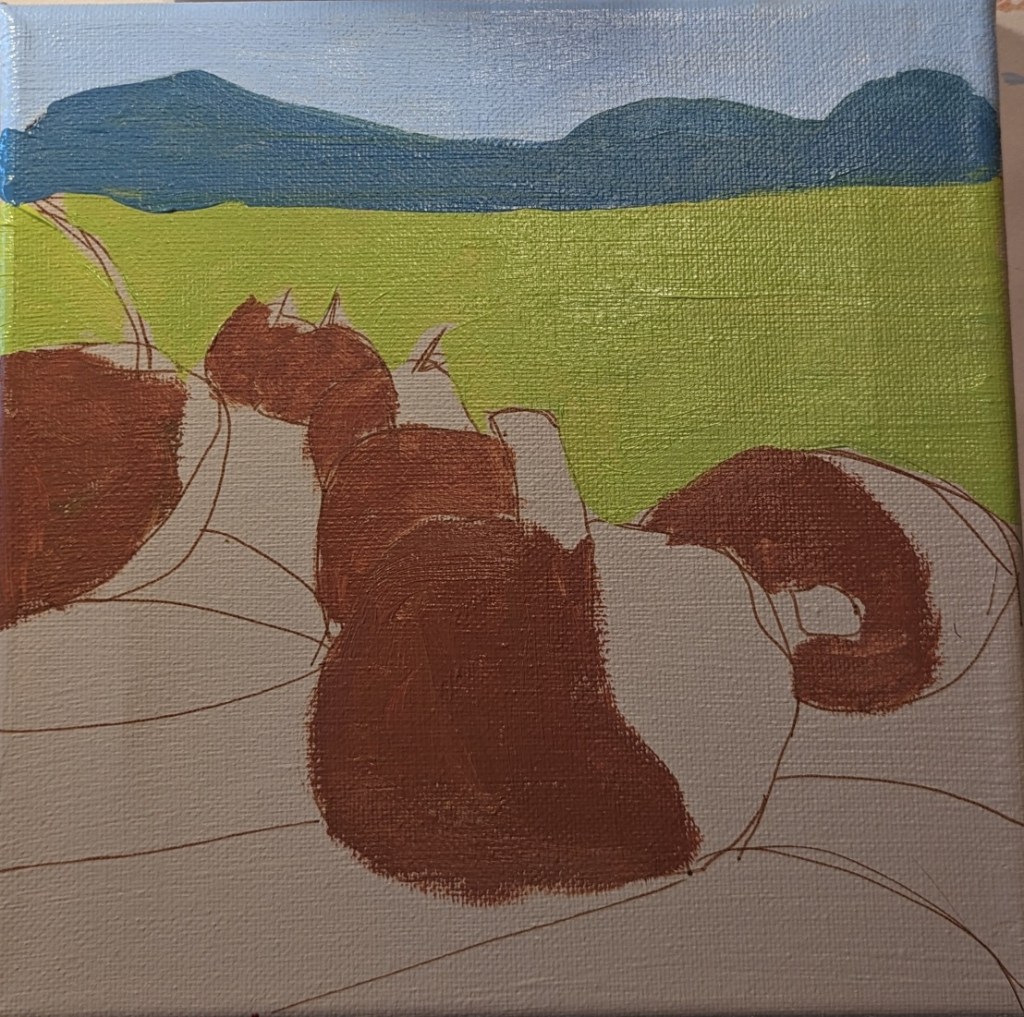
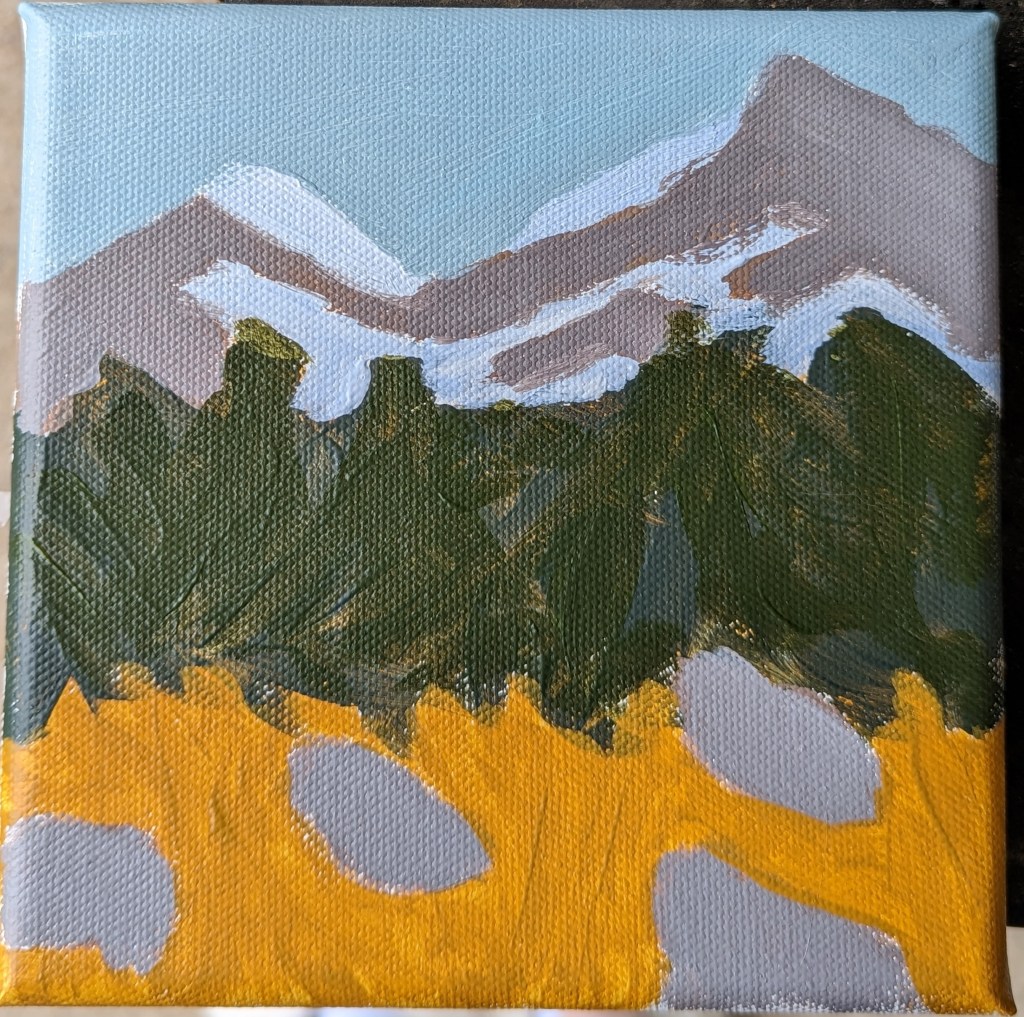
So, I’ve tried again. The new version, obviously, is on the left. This was a 6×6 canvas, also painted in acrylics. It’s marginally better.
However, I think if I were to paint it yet a third time (!), I’d leave out the rocks in the foreground, instead adding a path through the meadow to the trees. I’d also work on my brushwork for both the mountain and the snowcap, and would add shadowed shapes to better indicate the form of the mountainside.
This study was inspired by an image by Yann Allegre on Unsplash. I used the same pastels as I used for my previous effort, but I added a more detailed underpainting using NuPastels, after sketching the trees with vine charcoal.
In any case, the first chapter is about shape interpretation, and the first exercise is to “simplify and differentiate with limited values”. Albala has you do a painting in black and white, using 5 values (so the 3 mid-values are grays). He has you to choose a photo, and then put it in grayscale, squint and determine the no more than 5 values (to simplify). So, I used his photo example first without turning the page to see his proposed value study.
Here is my attempt, and then below it is my copy of how he did the 5 values from his photo in the book. The first thing I realized, after looking at his examples and his comments, is that i totally focus on trying to match the photo. The sky in the example photo is fairly overcast and looks like a “2” value (on a scale of 1 to 5, with 1 being the brightest), whereas the ground at the bottom of the photo looks brightest. But in reality the sky should be the lightest brightest value, so you have to adjust the proposed painting and not necessarily match the photo!
This realization also enforces another idea — there’s a reason landscape painters do paintings “en plein air”. If I were outside doing a value study (or painting) from life, it would be obvious that the sky is the lightest value and you don’t want the ground “fighting” the sky! This can be a downside of photographs.
Below that example, I used my own photo — taken in Sonoma County at a winery (I forget which one) — and my attempt at the 5 values the way I would paint it.
Here is my snowscape done in color. The snow is partly pink, blue and yellow, and very nearly white where the small bushes are. I removed the little pine tree at the suggestion of a member of Karen Margulis’ Patreon group for pastel classes. Most of the pastels used were Richeson hand-rolled, which is fast becoming my favorite brand.
(I have the comparison between the value study and the color version below. The original image was by Alain Audet from Pixabay.)
Yesterday’s sunset looked a bit like a fried egg, didn’t it? So I tried it one more time. This time I used Art Spectrum Colourfix paper, in the Terracotta shade.
While this painting is hardly a masterpiece, I feel most satisfied with it, and I finally got the reflection looking a bit more realistic than on my previous tries.
This project was based on an image by MustangJoe from Pixabay. I used Colourfix Smooth in Blue Haze all three times, as well as using the same palette.
All three efforts were failures, but at least I learned a few things.
Attempt #1
First time around, I did an underpainting (of the dark areas only) using a Blue Violet NuPastel. Using this color was a BAD idea! Why? Because I would later add a dark gray-green, and a reddish brown on top of that blue violet, which made mud. Ugh!
First time around, I also used too heavy a hand, in effect scribbling with the pastels trying to cover the paper. Bad idea — too heavy a hand can ALSO create mud.
First time around, the pine trees were cartoonish. But I was so frustrated with the mud mess I didn’t care at that point!
Attempt #2
My second attempt was successful in that I maintained a much lighter touch. But I still had mud because I still did the Blue Violet underpainting before using the dark green and the reddish brown.
The pine trees were rendered a little bit more like the photo, which pleased me.
I struggled with laying down color with certain pastel sticks. I ended up mostly with broad strokes done vertically, which doesn’t really work for the sky.
Attempt #3
This time I skipped the underpainting — whew! Still had mud because the gray-green and the orangey-brown are NOT a good pairing!
Had better luck with making marks for the sky, but the colors are not quite right to my mind. In analyzing the source image, I realize there is more of a lavender hint to the darks rather than green brown.
I need to try colors with more purple and less green and brown. I may need to experiment with papers which have more grit.
This pastel painting is based off an image by MustangJoe from Pixabay.
I used ArtSpectrum Colourfix Smooth in Blue Haze. My underpainting was done with willow charcoal, and I used Blue Earth, Blick, Richeson Hand-rolled and Sennelier pastel half-sticks.