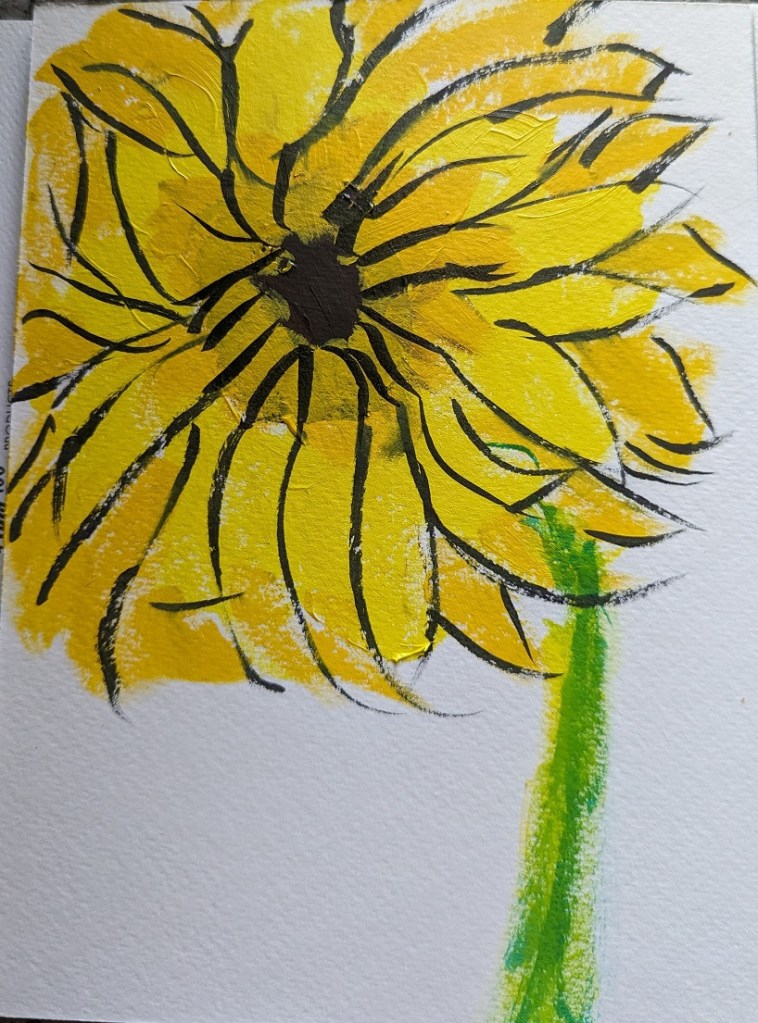
I’ve been unsatisfied with my sunflower painting so the other day I googled “how to paint sunflowers in acrylics”. The search results were a bounty of different YouTube videos. Well, naturally, some sunflower paintings appealed to me more than others so I watched about half a dozen.
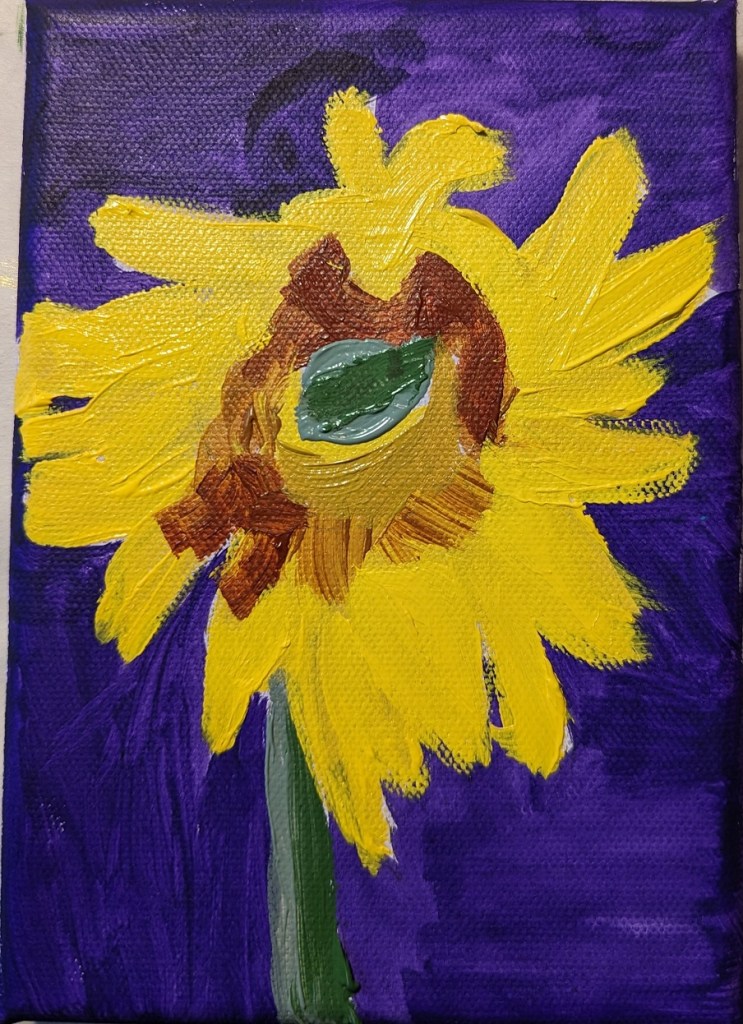
What I found was, naturally, everyone has their own way of painting sunflowers. Some start with the background, some start with the dark center of the flower. However, the colors they chose for painting the flower were largely in sync across the board — and with my own paintings: yellow, yellow ochre, burnt sienna, burnt umber, etc. etc.
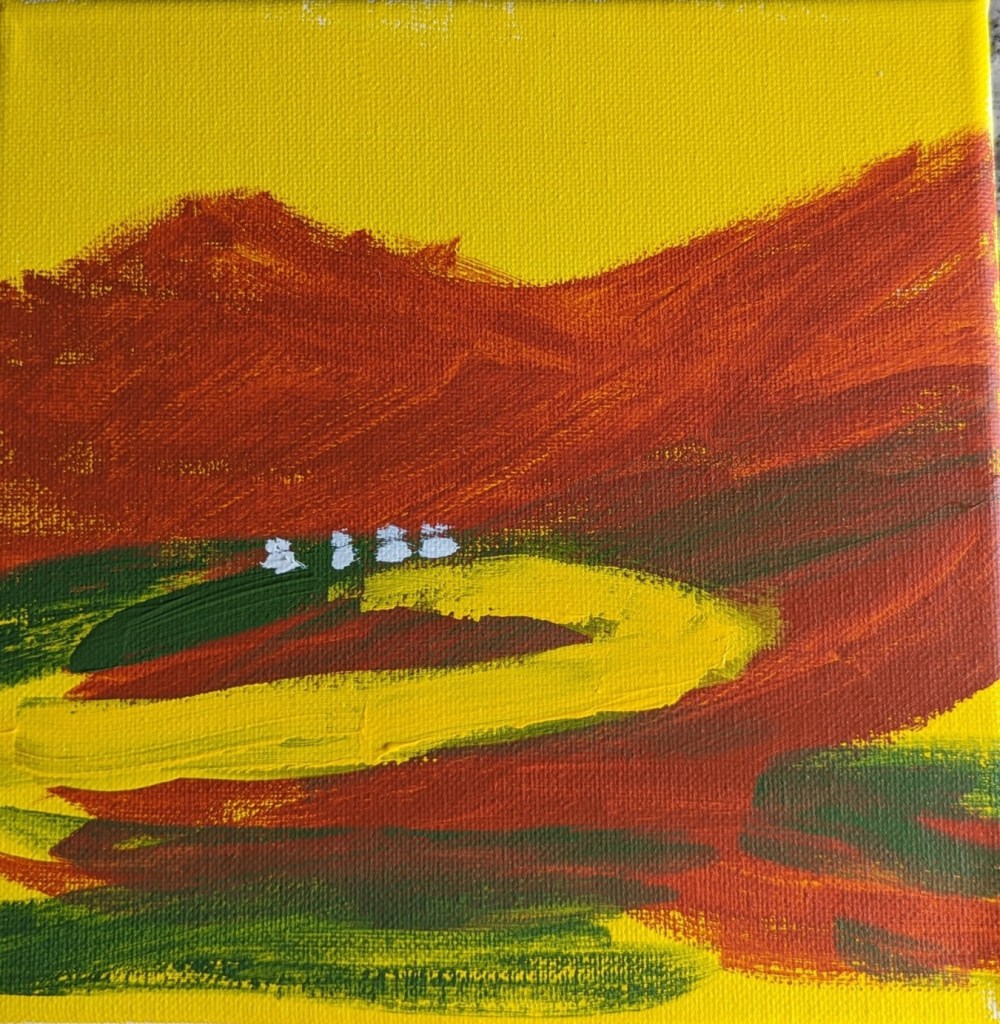
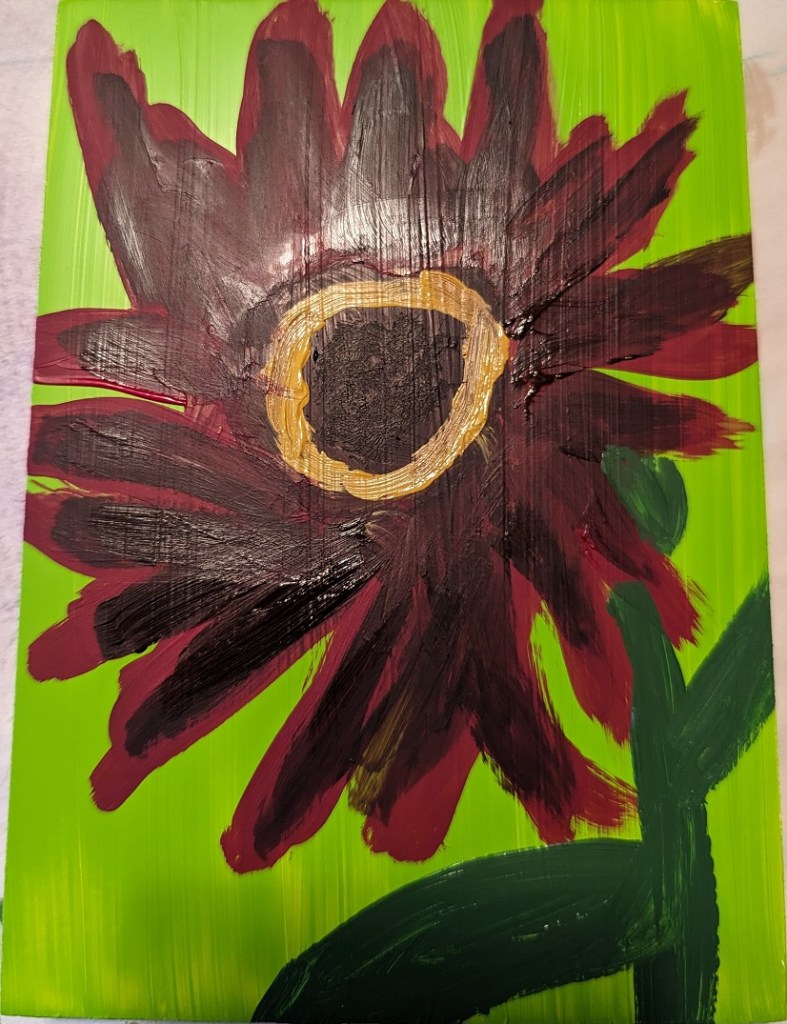
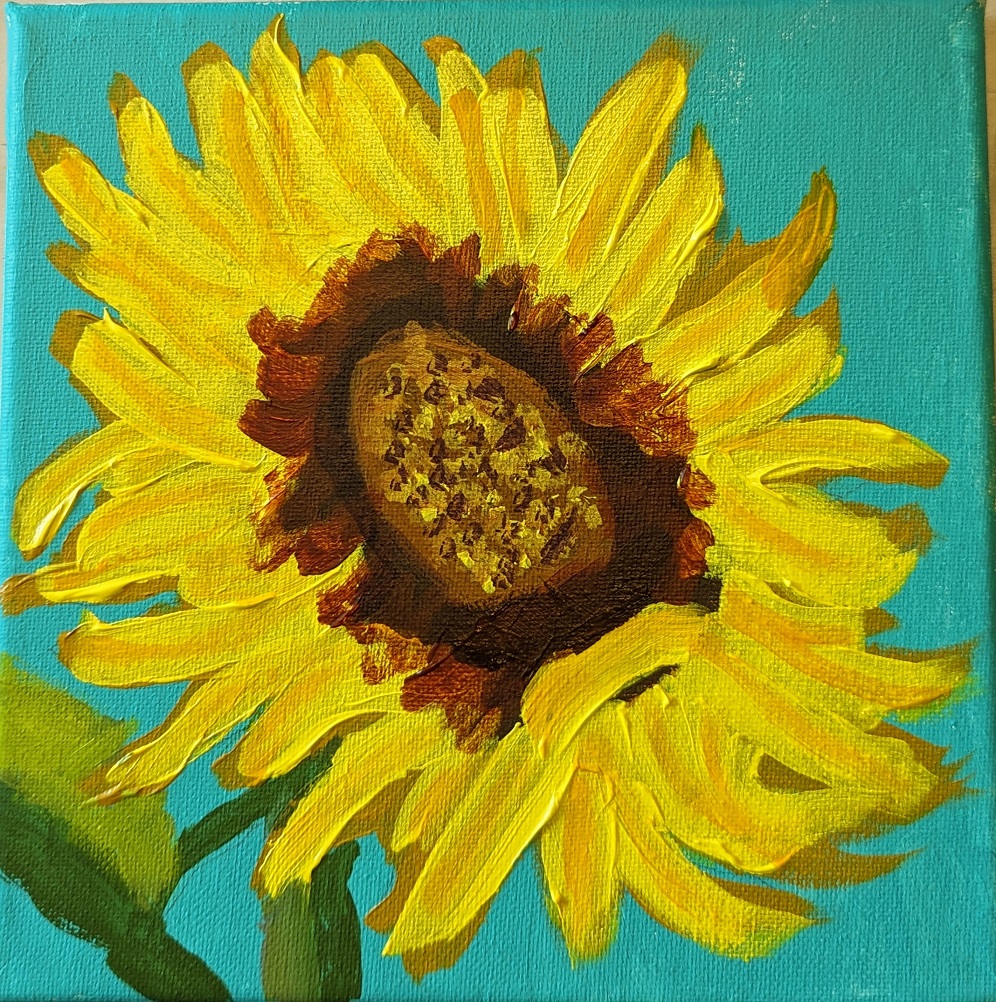
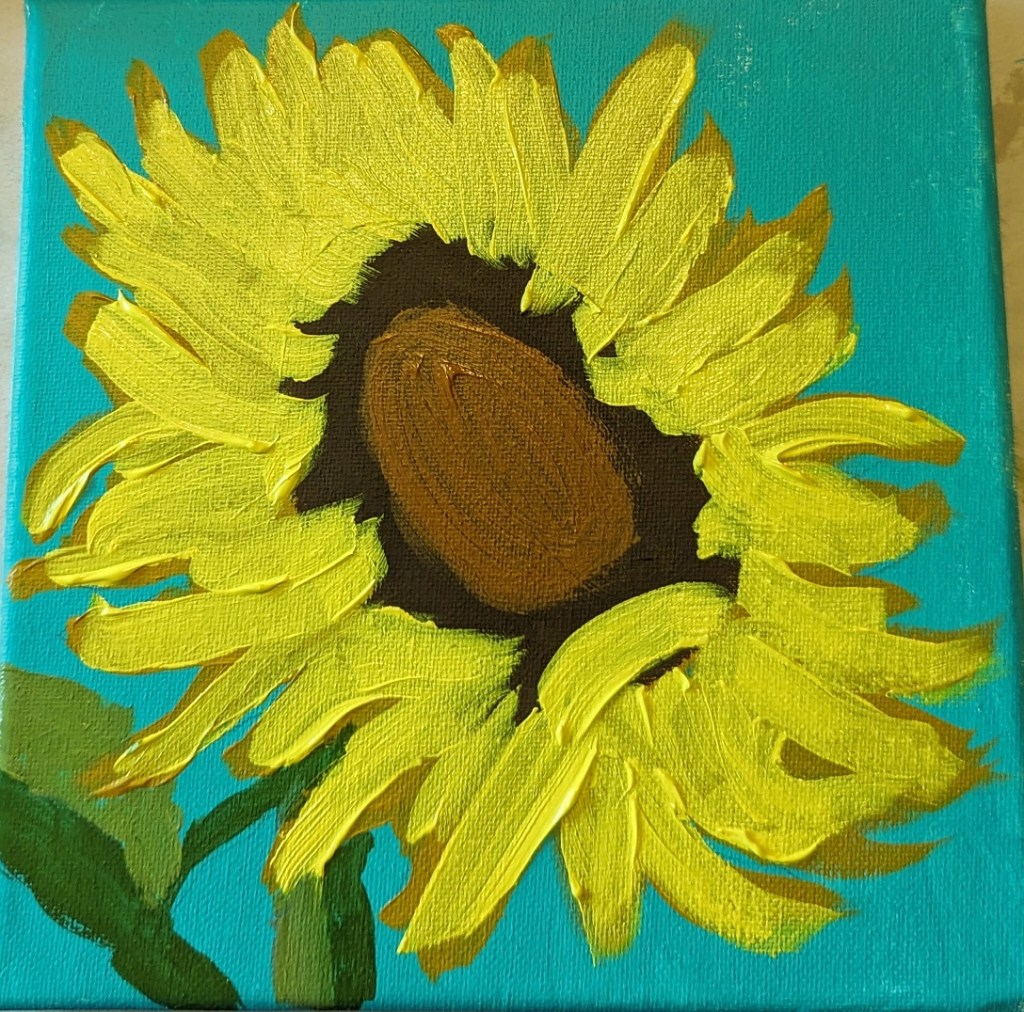
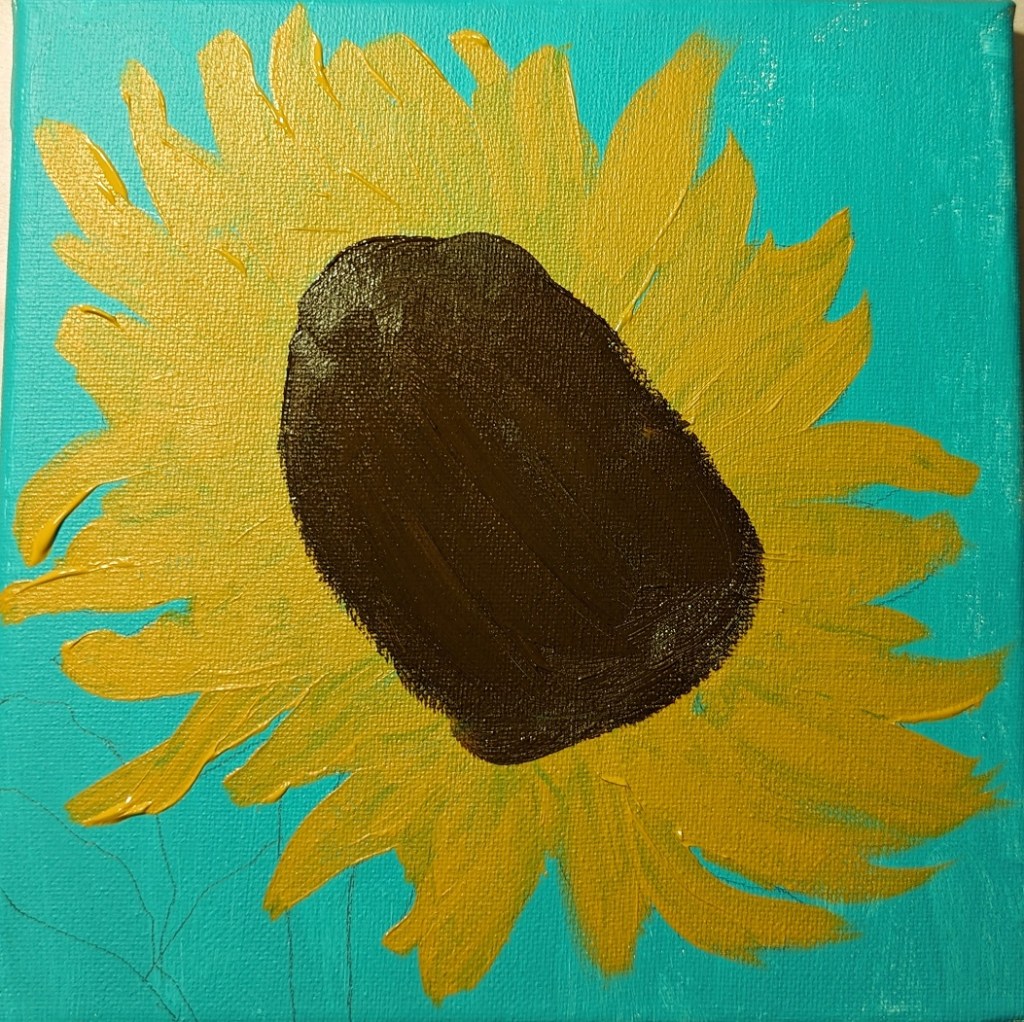
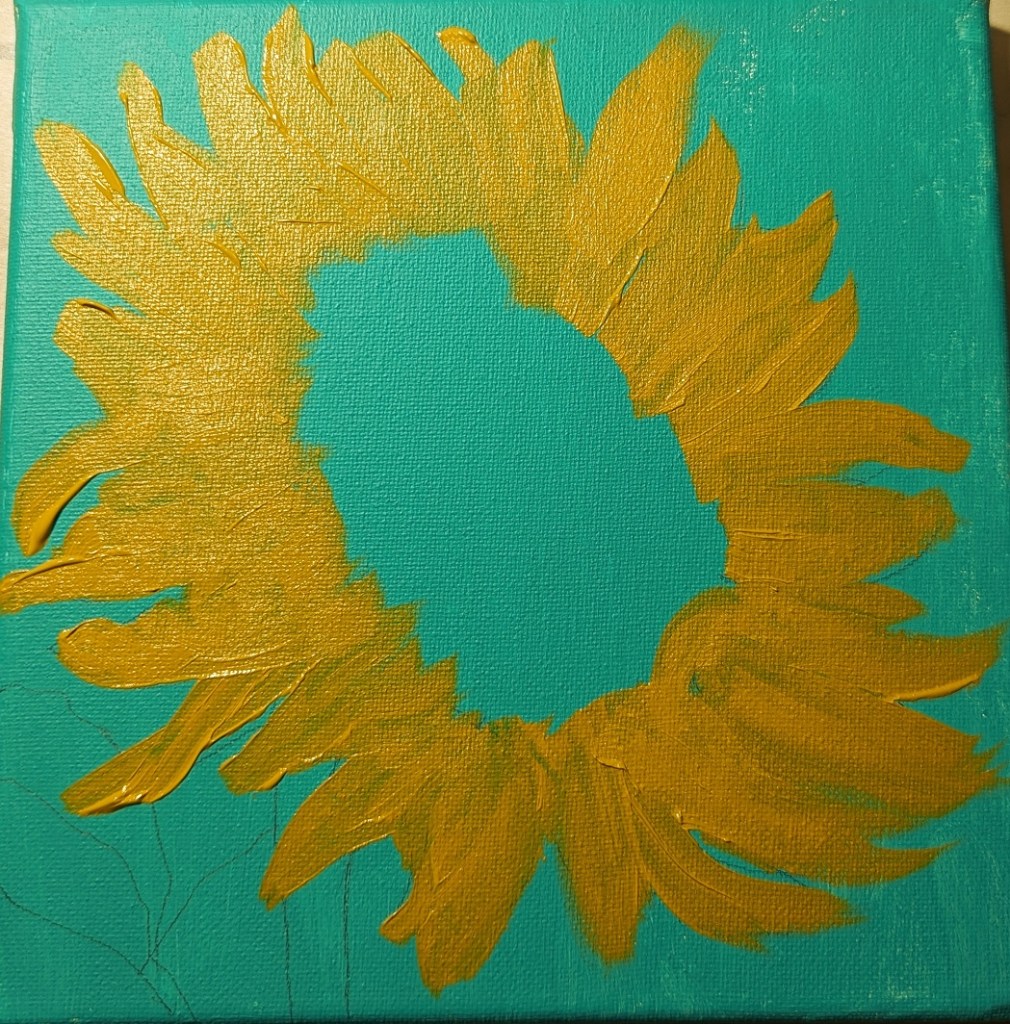
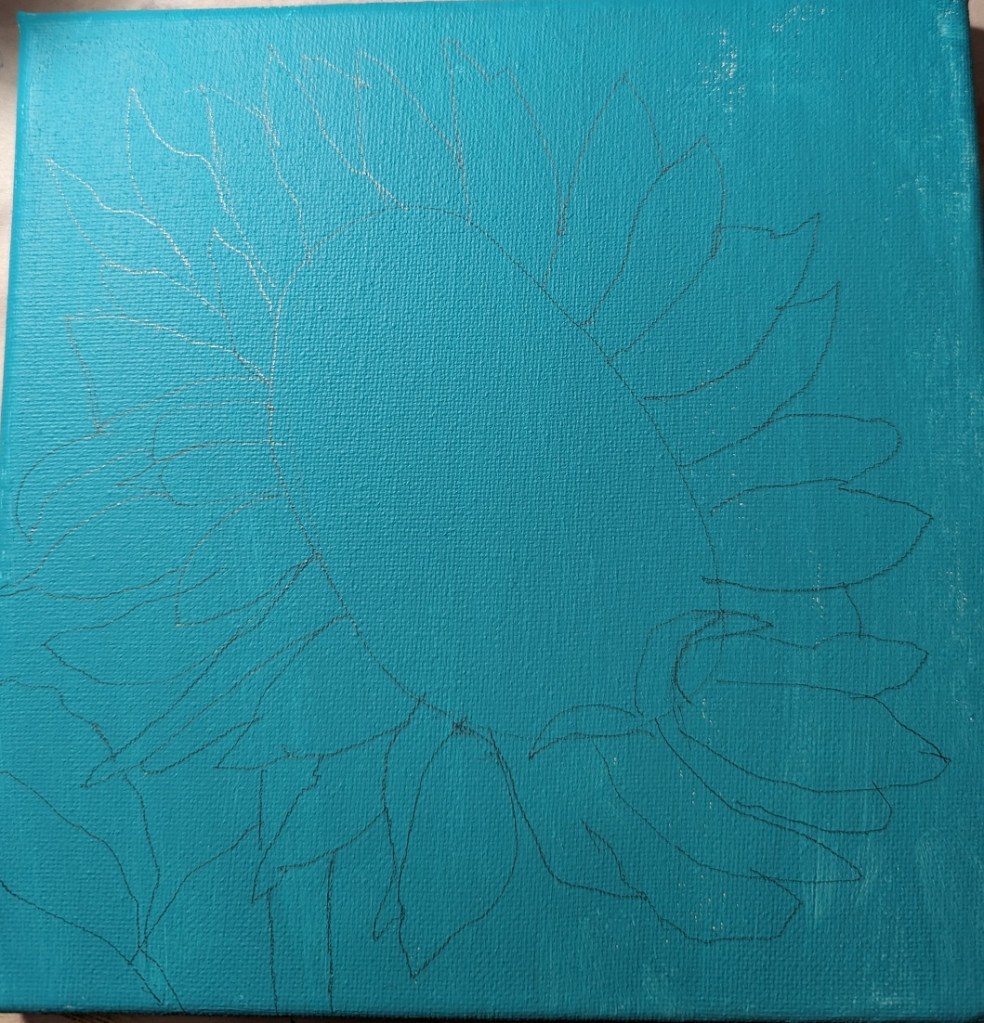
One process I decided to try, though, was to do more layering of the petals, and start with a round of yellow ochre first, applying the brighter yellow afterwards. This painting on an 8×8 canvas was just from my imagination, and the mix of all the sunflower pictures I’ve been looking at lately.